本文共 9145 字,大约阅读时间需要 30 分钟。
准备工作:
1:Net Core 2.1 为何要用2.1,因为在macOS 10.13上一个奇怪的问题,请看另一篇博文
2:FFmpeg 版本无所谓,最新即可,安装教程网上很多,当然也可以使用docker进行ffmpeg的部署,下载地址 http://ffmpeg.org/download.html
3:Rider 2018.1.2 在多平台上,比微软爸爸的VS好用,在window上肯定不如VS,当然你喜欢VSCODE也可以,毕竟JET的全家桶更好吃,哈哈。
目前准备工作就这样,后续需要添加的时候再一一告知。
好了,开始码砖。
创建一个简单的Net core web api应用程序
当你使用dotnet new或者使用IDE创建完成一个web项目后,该项目就已经可以运行,不过只是一个空壳子,我们需要一些存储全局变量和控制程序启动的方式。在Program.cs中的Main函数修改如下
1 public static void Main(string[] args) 2 { 3 var config = new ConfigurationBuilder() 4 .AddCommandLine(args) 5 .Build(); 6 7 General.ConfigurationBuilder = config; 8 General.LocalHostUrl = config["ASPNETCORE_URLS"]; 9 General.isOpenMiddleware = bool.Parse(config["OPEN_MIDDLEWARE"]);10 11 var host = new WebHostBuilder()12 .UseEnvironment(config["ASPNETCORE_ENVIRONMENT"])13 .UseUrls(config["ASPNETCORE_URLS"])14 .UseConfiguration(config)15 .UseKestrel()16 .UseContentRoot(AppDomain.CurrentDomain.BaseDirectory)17 .UseIISIntegration()18 .UseStartup ()19 .Build();20 21 host.Run();22 }
相信不用解释太多,各位也明白上面每条语句的作用。笔者使用General静态类存储了来之外部命令的启动参数,这种方式可以避免使用launcthSettings.json进行文件配置,通过启动参数直接给定运行方式和环境配置。在使用的过程中可以通过例如:--ASPNETCORE_ENVIRONMENT=Development --ASPNETCORE_URLS=http://localhost:5023 --OPEN_MIDDLEWARE=true进行启动,前两个参数不解释,第三个参数是为了方便多台服务器部署时候,是否启动相关的自定义中间件(相关中间件后续章节介绍)。既然本节介绍FFmpeg的使用,那么接下来我们讨论FFmpeg的使用方式。
ffmpeg是什么
从度娘(当然你要用谷歌也行)上面抄个介绍:FFmpeg是一套可以用来记录、转换数字音频、视频,并能将其转化为流的开源计算机程序。采用LGPL或GPL许可证。它提供了录制、转换以及流化音视频的完整解决方案。它包含了非常先进的音频/视频编解码库libavcodec,为了保证高可移植性和编解码质量,libavcodec里很多code都是从头开发的。
简单的说:就是可以处理音视频媒体的开源程序。
安装方式这里不做阐述,安装完成后输入ffmpeg会得到如下信息。
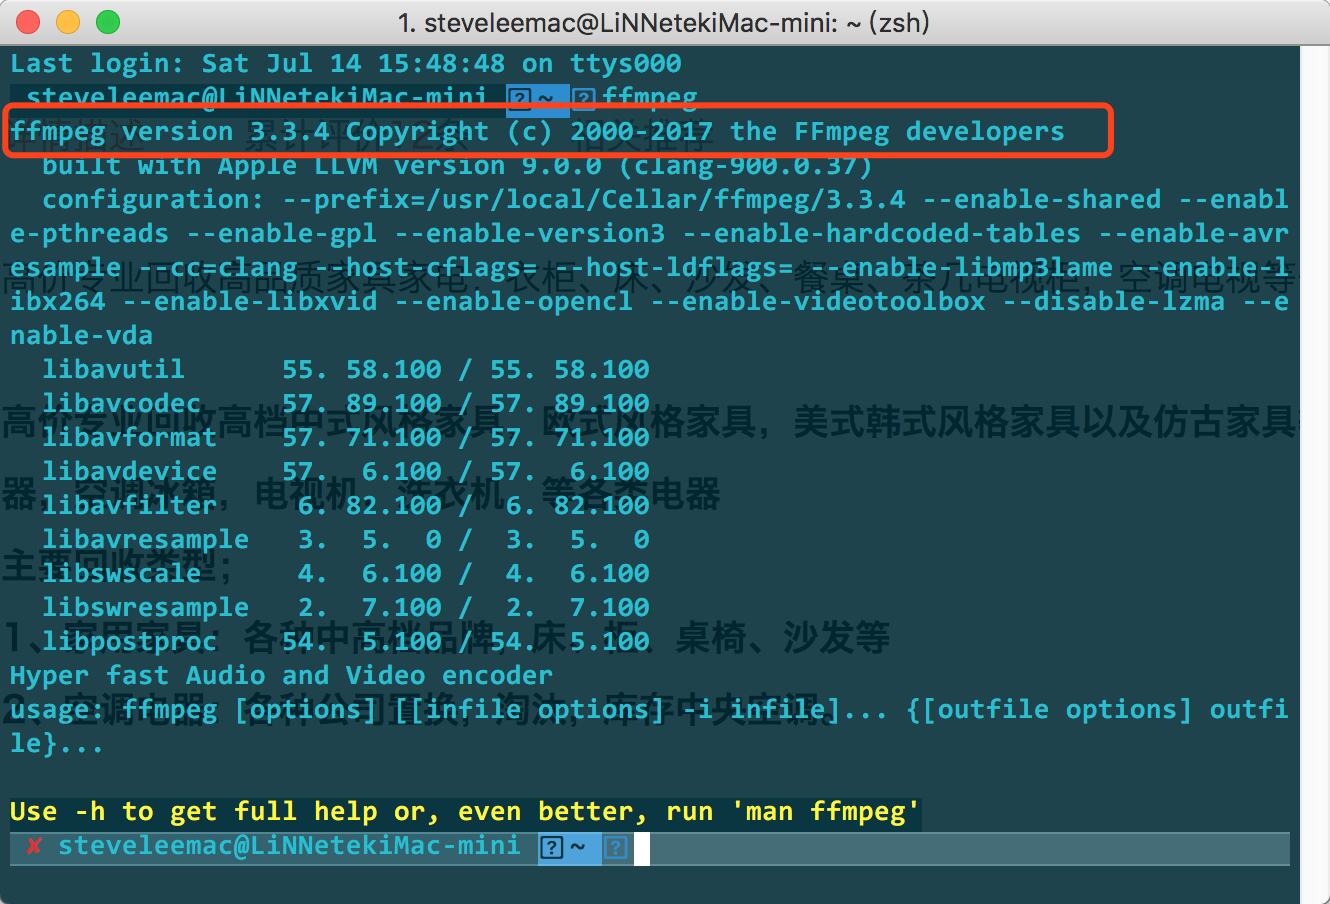
请忽略截图中的问号和乱码,不想去折腾zsh。
在http://ffmpeg.org/官网上有详细命令的使用和介绍,这里介绍个简单的命令
ffmpeg -i input.mp4 output.avi
该命令输入一个input.mp4 文件,输出一个output.avi文件,ffmpeg自动将mp4转码为avi文件并输出到当前硬盘目录,就这么简单!
通过Process类进行简单的进程通讯
当然,我们不可能通过纯手动的命令行的方式去得到自己想要的文件,这种方式对于服务器而言也不可取,不过,Net为我们提供了Process进行与进程间通讯的简单访问,其实最多也就是命令行的调用,编写一个通用的处理方法,方便不同地方的调用。
1 public void DoProcessing(string param, ProcessType processType = ProcessType.Ffmpeg) 2 { 3 try 4 { 5 _process.StartInfo.FileName = GetEnvironmentalFfmpeg(GetProcessName(processType)); 6 _process.StartInfo.Arguments = param; 7 _process.StartInfo.CreateNoWindow = true; 8 _process.StartInfo.UseShellExecute = false; 9 _process.StartInfo.RedirectStandardOutput = true;10 _process.StartInfo.RedirectStandardInput = true;11 _process.StartInfo.RedirectStandardError = true;12 13 _process.ErrorDataReceived += (sender, args) =>14 {15 if (sender is Process p && p.HasExited && p.ExitCode == 1)16 {17 Console.WriteLine("have an error:" + args.Data);18 }19 };20 21 if (processType == ProcessType.Ffprobe)22 {23 _process.ErrorDataReceived += (sender, args) =>24 {25 if (args.Data == "") return;26 FfprobeDataReceivedEventHandlerArgs?.Invoke(sender, args);27 };28 }29 30 _process.Start();31 _process.BeginErrorReadLine();32 _process.WaitForExit();33 }34 catch (Exception ex)35 {36 Console.WriteLine(ex);37 }38 finally39 {40 _process.Close();41 _process.Dispose();42 }43 } 以上实现方式都非常简单,这里笔者增加了一个委托FfprobeDataReceivedEventHandlerArgs函数,方便触发输出事件ErrorDataReceived在其他类中方便被调用,而Ffprobe能获取到音视频媒体的详细信息,后面代码中会介绍。
GetEnvironmentalFfmpeg是笔者为了偷懒,在windows中并没直接安装ffmpeg程序,而是将exe程序直接绑在了项目dll中,方便该项目在其他win平台的二次调用,而免去再次安装的繁琐问题(linux和mac没法偷懒,除非用docker直接拷贝镜像文件)
GetProcessName函数就是一个主命令的选择方式,ffmpeg中包含三个主要命令,ffmpeg用于处理音视频,ffplay用于播放,ffprobe用于获取信息,常用的主命令也就ffmpeg和ffprobe。
简单的参数工厂
当然,我们通过一个简单的主函数去调用ffmpeg命令是远远不够的,还需要根据不同的需求封装一下参数字符串的拼接方式,毕竟这么多参数我可记不住,呵呵。笔者提供一个思路和模板,有兴趣的朋友的借鉴和参考一下。
1 ///2 /// FFMPEG参数构造工厂 3 /// 4 public class AudioParamFactory 5 { 6 private static string GetRandFileName() 7 { 8 return GetDictory() + "temp/" + GetRandomString(6, true, true, true, false, "") + ".mp3"; 9 } 10 11 private static string GetDictory() 12 { 13 return AppDomain.CurrentDomain.BaseDirectory; 14 } 15 16 ///17 /// 調整音量大小 18 /// 19 /// 20 /// 21 ///22 public AudioParamConstructor AdjustVolume(string inputFilePath, int volumeSize = 100) 23 { 24 var outputFile = GetRandFileName(); 25 return new AudioParamConstructor 26 { 27 Paramter = $"-i {inputFilePath} " + 28 $"-vol {volumeSize} {outputFile} -y", 29 NewFileName = outputFile 30 }; 31 } 32 33 /// 34 /// 合并两个音频文件 35 /// 36 /// 37 /// 38 ///39 public AudioParamConstructor MergeTwoAudio(string inputFile1, string inputFile2) 40 { 41 var outputFile = GetRandFileName(); 42 return new AudioParamConstructor 43 { 44 Paramter = $"-i {inputFile1} " + 45 $"-i {inputFile2} " + 46 "-filter_complex amix=inputs=2:duration=first:dropout_transition=10 -y " + 47 $"{outputFile}", 48 NewFileName = outputFile 49 }; 50 } 51 52 /// 53 /// 拆分音频文件 54 /// 55 /// 56 /// 57 /// 58 ///59 public AudioParamConstructor InterceptAudio(string inputFile1, TimeSpan startTime, TimeSpan durtionTime) 60 { 61 var outputFile = GetRandFileName(); 62 return new AudioParamConstructor 63 { 64 Paramter = $"-i {inputFile1} -vn -acodec copy -ss " + 65 $"{startTime.Hours:00}:{startTime.Minutes:00}:{startTime.Seconds:00}.{startTime.Milliseconds:000} -t " + 66 $"{durtionTime.Hours:00}:{durtionTime.Minutes:00}:{durtionTime.Seconds:00}.{durtionTime.Milliseconds:000} " + 67 $"{outputFile}", 68 NewFileName = outputFile 69 }; 70 } 71 72 /// 73 /// 拼接多个音频文件 74 /// 75 /// 76 ///77 public AudioParamConstructor SplicingAudio(IEnumerable inputList) 78 { 79 var splic = inputList.Aggregate("", (current, input) => current + input + "|"); 80 splic = splic.Remove(splic.Length - 1, 1); 81 splic = $"\"concat:{splic}\""; 82 var outputFile = GetRandFileName(); 83 return new AudioParamConstructor 84 { 85 Paramter = $"-i {splic} -acodec copy {outputFile}", 86 NewFileName = outputFile 87 }; 88 } 89 90 /// 91 /// 获取音频文件信息 92 /// 93 /// 94 ///95 public string GetFileInfo(string inputFile) 96 { 97 return $"-i {inputFile} -print_format json -v 0 -show_format"; 98 } 99 100 /// 101 /// 键入效果102 /// 103 /// 104 ///105 public AudioParamConstructor FadeIn(string inputFile, int startSecends)106 {107 var outputFile = GetRandFileName();108 return new AudioParamConstructor109 {110 Paramter = $"-i {inputFile} -filter_complex afade=t=in:ss={startSecends}:d=2 {outputFile}",111 NewFileName = outputFile112 };113 }114 115 /// 116 /// 渐出效果117 /// 118 /// 119 ///120 public AudioParamConstructor FadeOut(string inputFile, int startSecends)121 {122 var outputFile = GetRandFileName();123 return new AudioParamConstructor124 {125 Paramter = $"-i {inputFile} -filter_complex afade=t=out:st={startSecends}:d=2 {outputFile}",126 NewFileName = outputFile127 };128 }129 130 /// 131 ///生成随机字符串132 /// 133 /// 目标字符串的长度134 /// 是否包含数字,1=包含,默认为包含135 /// 是否包含小写字母,1=包含,默认为包含136 /// 是否包含大写字母,1=包含,默认为包含137 /// 是否包含特殊字符,1=包含,默认为不包含138 /// 要包含的自定义字符,直接输入要包含的字符列表139 ///指定长度的随机字符串 140 public static string GetRandomString(int length, bool useNum, bool useLow, bool useUpp, bool useSpe,141 string custom)142 {143 byte[] b = new byte[4];144 new System.Security.Cryptography.RNGCryptoServiceProvider().GetBytes(b);145 Random r = new Random(BitConverter.ToInt32(b, 0));146 string s = null, str = custom;147 if (useNum == true)148 {149 str += "0123456789";150 }151 152 if (useLow == true)153 {154 str += "abcdefghijklmnopqrstuvwxyz";155 }156 157 if (useUpp == true)158 {159 str += "ABCDEFGHIJKLMNOPQRSTUVWXYZ";160 }161 162 if (useSpe == true)163 {164 str += "!\"#$%&'()*+,-./:;<=>?@[\\]^_`{|}~";165 }166 167 for (int i = 0; i < length; i++)168 {169 s += str.Substring(r.Next(0, str.Length - 1), 1);170 }171 172 return s;173 }174 }
至此,我们在Net Core Web App上面已经创建了一个基于ffmpeg的Web程序,目前运行没有任何效果的,下一节我们将这个Web程序进行小部分的完善,并开始处理音频文件的第一个问题。
感谢阅读!
转载地址:http://bsmml.baihongyu.com/